





Summary
This guide explains how administrator access works in the KnowledgeCity LMS. You will learn how to review the roles in your account, build a custom role, set what that role can reach, and give an administrator the right access level.
Introduction
Administrator access in the LMS is built on roles. Rather than picking a single admin type, you give each administrator an access level: Full Access or Custom. An admin set to Custom gets one or more scoped roles, and each role carries its own permissions.
This model lets you match access to responsibility. An admin who only reads Reports never sees Account settings, and a content specialist can edit Courses without touching user records. You manage all of this from two pages in the sidebar: Admins and Roles.
Note: Full Access is the highest level in the LMS. If you managed your account before roles were introduced, this is the level that used to be labeled Super Admin.
Key Concepts
- Access level: what an administrator gets overall, either Full Access or Custom.
- Full Access: reaches every page in the LMS. Scoped roles do not apply at this level.
- Custom: access comes only from the scoped roles you assign, and at least one role is required.
- Scoped role: a named set of permissions, such as HR Manager, that you assign to one or more admins.
- Section: an area of the LMS you grant access to, such as User list, Courses, or Reports.
- Permission: the access one role has to one section, set to Full, View, or None.
- Module: a group of related abilities, such as Licenses Management, that a role turns on or off.
- System role: a role the LMS provides. It is labeled as a system role and is read only.
- Effective access: a summary of everything an admin can reach once their roles are combined.
Steps to Follow
Accessing Admins and Roles
In the LMS sidebar, open LMS admins. It holds two pages:
- Admins: every administrator in your account.
- Roles: the roles you can assign to them.
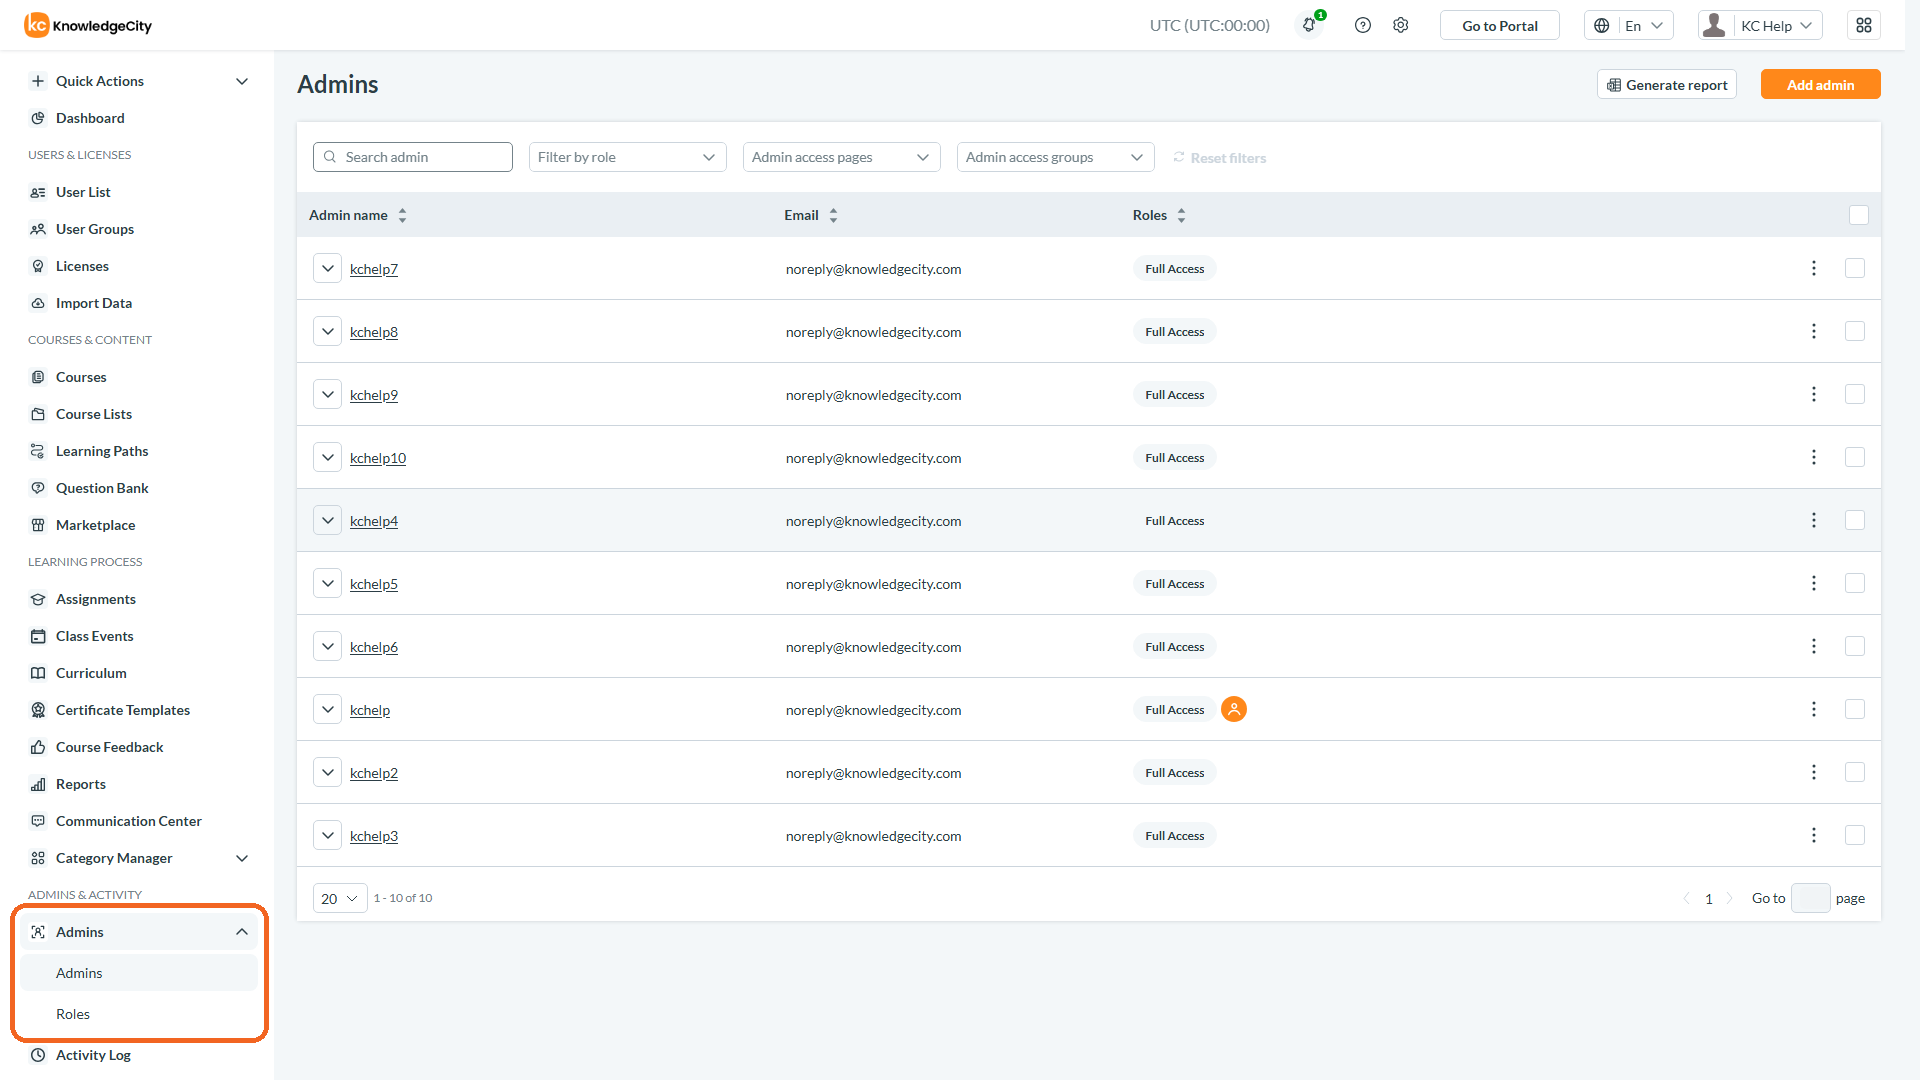
Caption: In the LMS sidebar, open LMS admins.
Step 1: Review the roles in your account
Open Roles. Each role shows its name, description, and how many admins hold it. Roles the LMS provides are labeled as system roles and are read only, so you can open them but not change them. Full Access and Standard Administrator are system roles. Your account may also include ready made roles such as HR Manager and Content Editor. Anything your team builds appears under Custom roles.
Step 2: Create a custom role
Click New role. Enter a Name that describes the job, then add a Description of the area of responsibility. Role names must be unique. If the name is already taken, the LMS asks you to pick a different one.
Step 3: Set section permissions
Under Permissions, every row is a Section with an Access setting:
- Full: view and change everything in that section.
- View: read the section without making changes.
- None: hide the section from the admin.
A new role starts at Full on every section, so work down the list and reduce what the role does not need. Many sections have subsections you can set on their own. User list, for example, covers User data, Assignments, Statistics, Event list, Licenses, and Access schedules.
The sections you can control are grouped like this:
- People and access: Dashboard, User list, User groups, Licenses, Import data, Access requests.
- Learning content: Courses, Course lists, Learning paths, Question bank, Marketplace, Assignments, Class events, Curriculum, Certificate templates, Course feedback.
- Insight and messaging: Reports, Reports builder, Communication center, Category manager.
- Administration: Admins, Activity log, Recycle bin, Account settings, Portal Settings, Form settings, Integrations.
Step 4: Turn modules on or off
Modules group abilities that cut across sections. Set each one to Enabled or Disabled:
- Licenses Management: assign, extend, and revoke licenses for users and groups.
- Assignments Management: assign learning to users and groups, and manage deadlines, access dates, and settings.
- Users / Groups Management: create and edit users and groups, manage profiles, and configure group settings.
Turning a module off also closes the sections it controls, so review your section permissions after you change one. Save the role when you are finished.
Step 5: Assign the role to administrators
Open the role and choose Assign admins. Search for the people you want, then select them. Their current roles are kept, so this adds the new role instead of replacing what they already hold. If the person is not an administrator yet, create them from the Admins page first.
Step 6: Add an admin and set their access level
On Admins, click Add admin. You have two paths:
- To promote someone who already has a user profile, select Grant admin role to the existing user, then pick the person.
- To create a new administrator, fill in Username, Email, Password, First name, and Last name.
Set the access level to Full Access or Custom. If you choose Custom, select at least one scoped role. Select Grant access to learning portal when this admin also needs to take courses. Use the notify option to email them about their new profile, then save.
Note: You can also grant admin access from a person's own profile. Open the profile, go to User Permissions, and turn on Grant admin role.
Step 7: Change an existing admin's access
On Admins, open the actions for a row and choose Edit access. Pick Full Access or Custom. Full Access grants every page, and scoped roles do not apply at that level. With Custom, adjust the scoped roles and keep at least one. The Effective access summary shows what the admin can reach once their roles are combined.
Step 8: Limit an admin to specific user groups
Roles decide which pages an admin sees. Group access decides which people they see. From the admin's actions, choose Groups access, then pick one option:
- Access to all groups in the LMS.
- Allow access only to the groups you select.
- Restrict access to the groups you select.
Note: If the admin is the group manager for a group, you cannot restrict their access to it. Remove that group from your selection to save the change.
Finding and auditing admins
The Admins page is where you check who holds what:
- Search by Admin name, username, or email.
- Use Filter by role to list everyone holding a given role.
- Click Generate report to export the admin list, then open Reports to download it.
- Expand a row to review that admin's roles, group access, and settings.
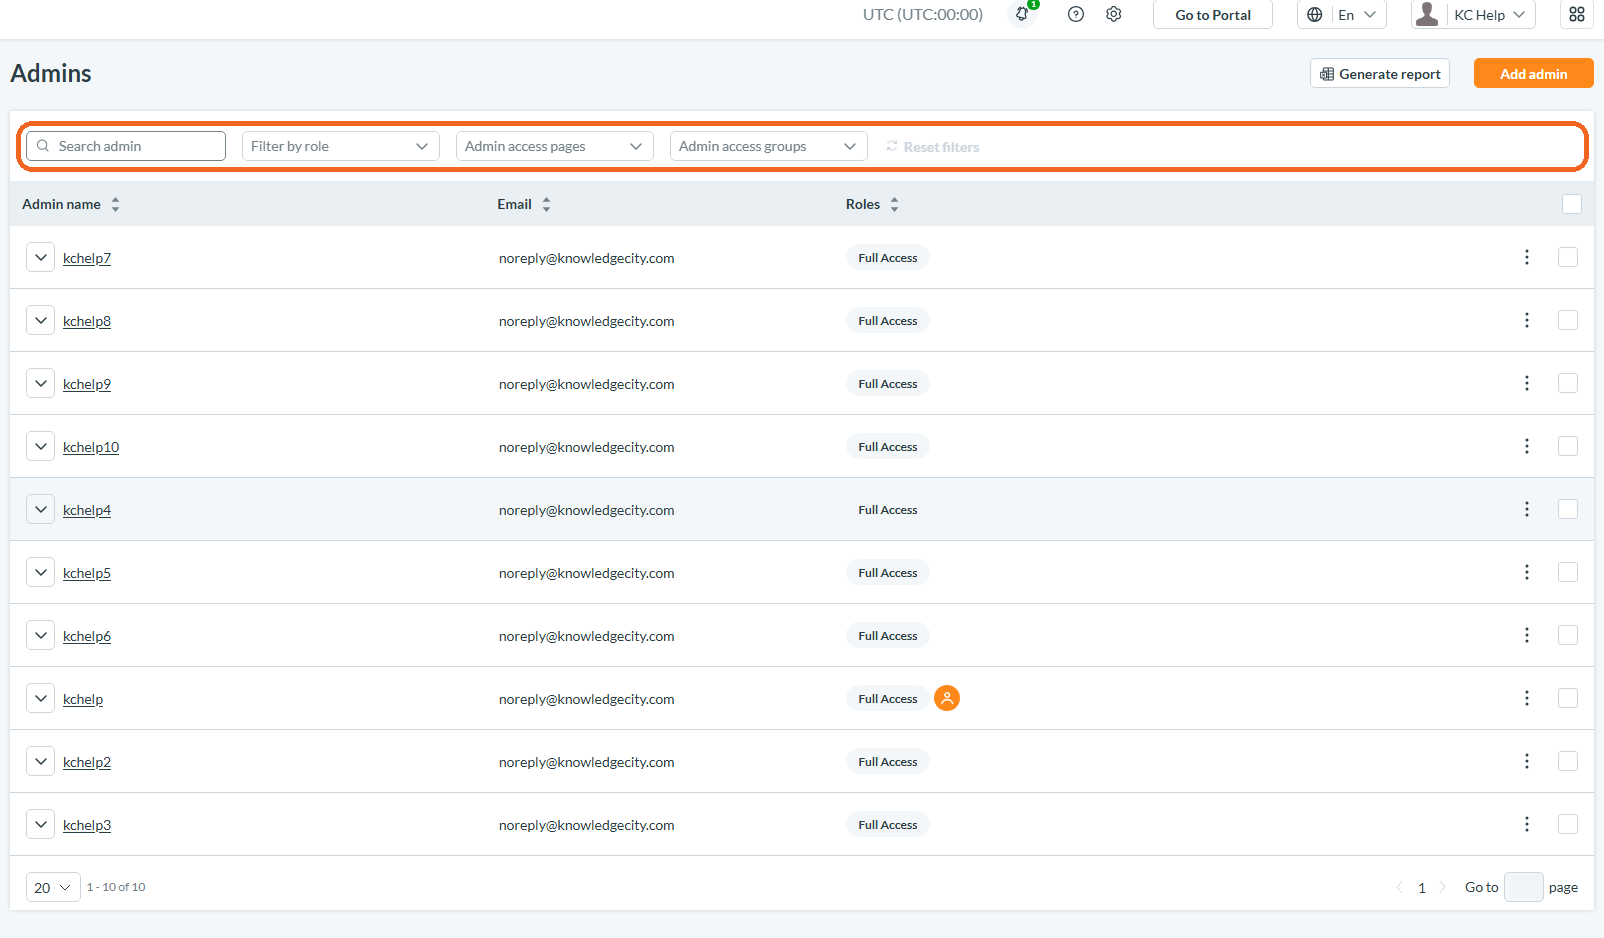
Caption: The Admins page is where you check who holds what.
Other settings on an admin
- Change password: reset an admin's password within your account's security rules.
- Line manager settings: assign the users this admin oversees as their line manager.
- Completion review: let the admin review and confirm course completion data for their users.
- Go to user profile: jump to the person's learner profile when they have one.
Removing an admin
Choose Remove admin from the row actions. You can also archive or remove the person's related user profile, and notify them by email. Removing an administrator cannot be undone, so confirm you have the right account before you continue.
Full Access Compared With a Custom Role
| Capability | Full Access | Custom |
|---|---|---|
| Reaches every page | Yes | Only what its roles allow |
| Scoped roles apply | No | Yes, at least one required |
| Per section Full, View, or None | Not applicable | Yes |
| Manage other admins and roles | Yes | Only when a role grants the Admins section |
| Account settings and Portal Settings | Yes | Only when a role grants them |
| Create or edit courses | Yes | Only when a role grants the Courses section |
| Restrict to selected user groups | Yes | Yes |
Best Practices
- Give each role the least access the job needs, then widen it if the person asks.
- Reserve Full Access for the few people who own the account.
- Review your admins and their roles on a schedule, and whenever someone changes jobs or leaves.
- Update access as soon as responsibilities change instead of waiting for the next review.
- Use strong passwords on admin accounts, since they reach sensitive data and account settings.
Note: An administrator with no linked learner profile who signs in to the learning portal lands on the LMS dashboard instead. This keeps admins in the interface they need.
Conclusion
Roles let you match administrator access to the work each person actually does. You build a role once, assign it to everyone in that job, and adjust it in a single place when the job changes. Start with the roles your account already provides, then add custom roles for the gaps you find.