





Summary
Custom workflows in Safety App let you define how an incident moves from one status stage to the next and the rules that govern each move. You build a workflow as a visual diagram of stages and transitions, so incidents are routed automatically instead of by manual handoffs. This gives your safety program a consistent, repeatable path from initial report through triage and resolution.
Introduction
When an incident is reported, it needs to travel through a series of stages before it can be closed. Custom workflows turn that journey into automatic routing, so an incident reported at midnight can reach the right manager in the morning regardless of who was online. Instead of relying on people to remember the next step, the workflow moves each incident forward based on the stages and rules you define.
Custom workflows are typically set up by administrators who manage how the safety program operates. Once a workflow is active, it applies to the incidents that flow through it, giving everyone who handles those records a predictable, standardized process.
Key Concepts
- Custom workflow: a configurable process that defines the status stages an incident passes through and the rules for moving between them. It is built as a visual diagram with no code required.
- Incident workflow: the workflow category that routes incident reports for triage. Alongside investigation and action workflows, it is one of the workflow categories that cover the platform.
- Status stage: a step in the incident's lifecycle, represented as a node on the workflow diagram. Stages are the points an incident occupies as it progresses.
- Transition: the connection between two stages that defines a permitted move, so you control which stage an incident can advance to next.
- Condition: a rule attached to a transition that determines when the move applies, allowing the workflow to route incidents based on their details.
- Notification: a message you attach to a stage or transition so the right people are informed automatically as an incident moves.
- Webhook: an outbound call you attach to a workflow so external systems can react when an incident transitions.
- Workflows library: the central place where every active workflow is listed, showing its category, status, and recent fire history at a glance.
Steps to Follow
Open the Workflows library
Navigate to the Workflows area in Safety App. This central library lists every active workflow along with its category, status, and recent fire history, so you can see what is already in place before you create or edit a workflow.
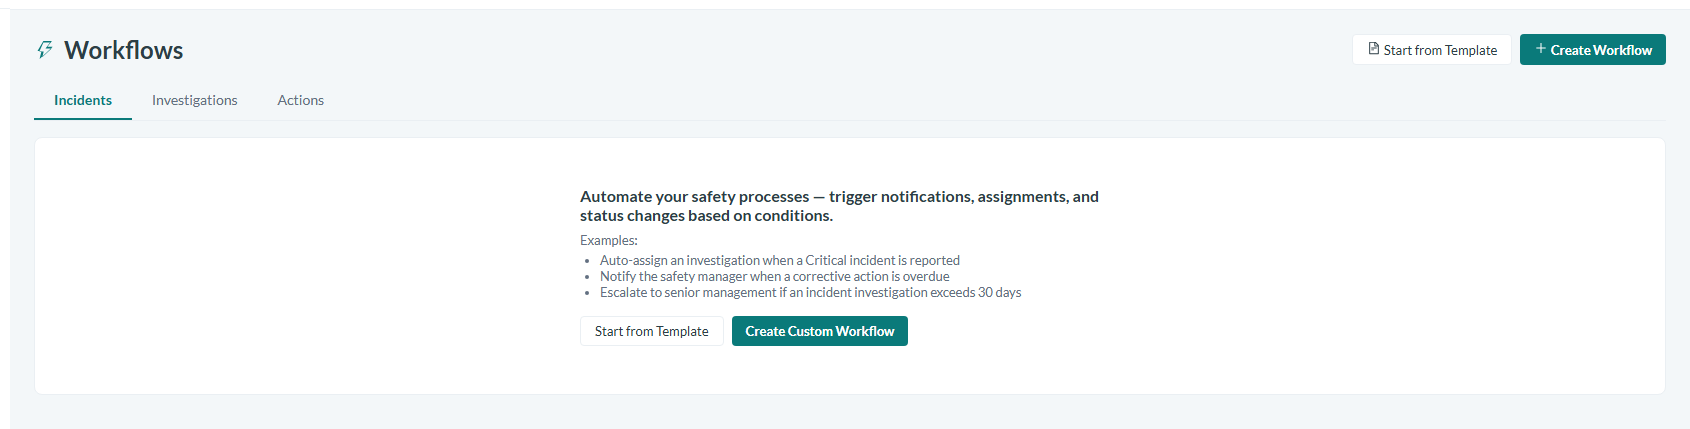
Caption: The Workflows library, with a tab for each workflow category and the controls for creating one.
Create an incident workflow
Start a new workflow and set its category to the Incident category, which routes incident reports for triage. Working within the incident category keeps the stages and rules you define scoped to how incidents move through your program.
Define the status stages
Add a node for each status stage an incident should pass through. Each node represents a distinct point in the incident's lifecycle, so lay out the stages in the order that reflects how your team handles an incident from report to resolution.
Connect the transition rules
Draw a transition between two stages to define a permitted move from one status to the next. By connecting stages deliberately, you control the paths an incident can take and prevent it from skipping stages that matter to your process.
Add conditions to transitions
Attach a condition to a transition when a move should only apply in certain situations. Conditions let the workflow decide, based on an incident's details, which transition to follow, so incidents are routed to the right stage automatically.
Attach notifications and webhooks
Attach notifications so the right people are informed as an incident reaches a stage or moves between stages. Where an external system needs to respond, attach a webhook so that system is called when the incident transitions. Because the workflow is a visual diagram, you can add these without writing any code.
Activate and monitor the workflow
Set the workflow to active so it begins routing incidents. Return to the Workflows library to confirm its status and review its recent fire history, which shows that transitions are running as you intended.
Conclusion
Custom workflows give your safety program a clear, automatic path for every incident by letting you define the status stages and the transition rules between them. By laying out stages as nodes, connecting them with conditioned transitions, and attaching notifications and webhooks, you replace manual handoffs with consistent routing that keeps incidents moving toward resolution.