





Summary
The Skill Tree is the list of skills your organization measures, arranged in a hierarchy. Everything else in KC Skills is built on it: assessments select skills from the tree, campaigns assess those skills, and results are reported against them. This article covers setting the hierarchy depth, adding and editing nodes, naming them in more than one language, reordering them, and exporting the tree.
Introduction
Before you can build an assessment or run a campaign, KC Skills needs to know what skills exist. The Skill Tree holds that structure. It groups skills under broader headings so that a large catalog stays navigable, and so results can be read at the level that makes sense for your audience.
The Skill Tree is set up by administrators, usually once at the start, then extended as the organization changes. It is worth getting right early: assessments reference the tree, so restructuring it later affects the assessments already built on it.
Key Concepts
Hierarchy depth: How many levels your tree has, from two to four. Depth decides which of the level names below are available.
Domain: The broadest grouping, at the top of the tree.
Category and Subcategory: The middle groupings. Whether you get one, both, or neither depends on the depth you choose.
Skill: The leaf of the tree, and the thing an assessment actually measures.
Node: Any single entry in the tree, at any level.
Default skills: A starter tree KC Skills can load for you, so you begin from a working structure instead of an empty page.
Steps to Follow
Accessing the Skill Tree
Open KC Skills and select Skill Tree in the left sidebar. If your organization has not set up any skills yet, the dashboard also prompts you to set up your skill tree before creating campaigns.
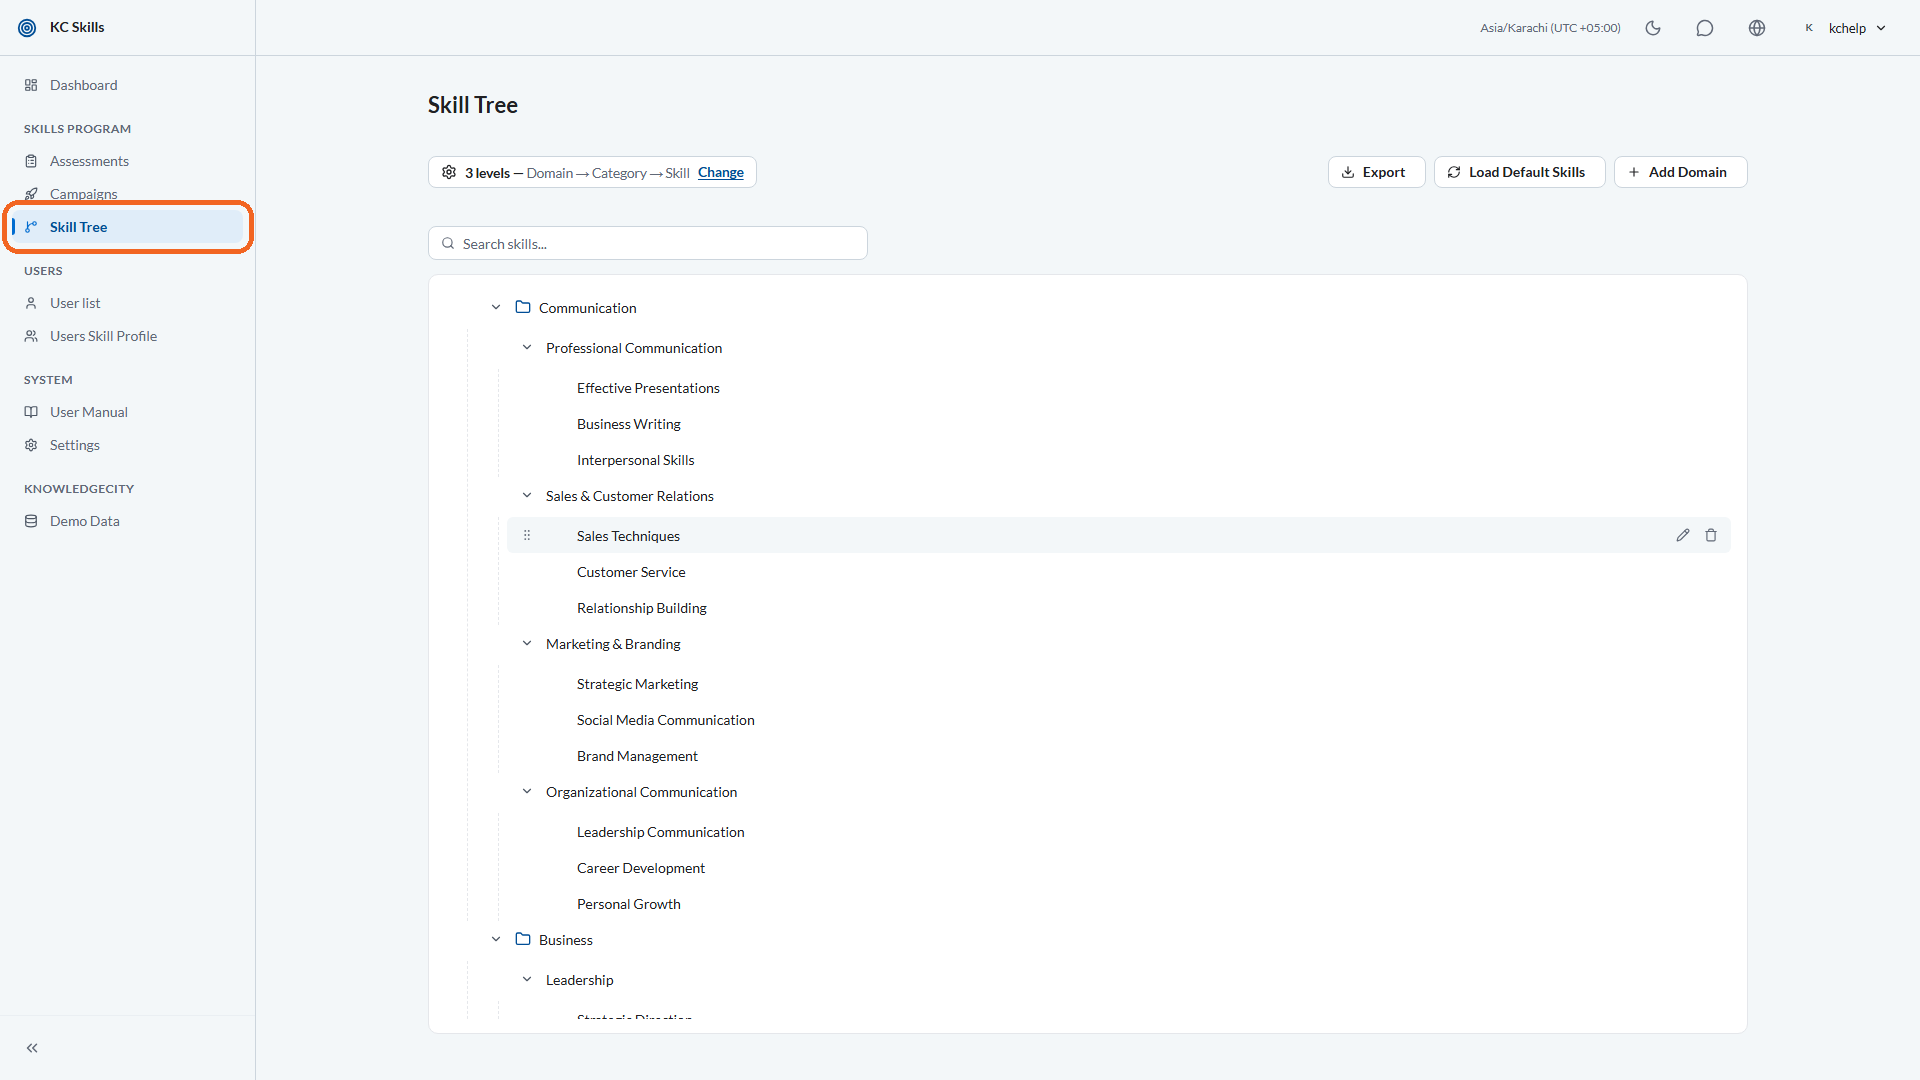
Caption: Open KC Skills and select Skill Tree in the left sidebar.
Step 1: Choose your hierarchy depth
Open Settings, then Skill Tree Hierarchy. Set Hierarchy Depth to the number of levels you want, described on screen as selecting the number of levels in your skill tree hierarchy. You can choose two, three, or four levels.
A shallower tree is quicker to browse. A deeper tree lets you group a large catalog more precisely.
Note: Changing the depth replaces your current skill tree structure and loads the defaults for the new depth. KC Skills asks you to confirm before applying the change. Set the depth before you invest time building the tree out.
Step 2: Start from the default skills, or from scratch
Select Load Default Skills to populate the tree with a ready-made structure you can then edit. This is the fastest way to get a usable tree, and you can rename, delete, or extend anything in it.
If you would rather build your own, select Add Domain and start from the top level instead.
Step 3: Add nodes down the hierarchy
Select a node and use Add Child to create the level beneath it. Work downward: a Domain holds Categories, a Category holds Subcategories where your depth allows, and the lowest level holds the individual Skills.
Only the lowest level is assessable. Skills are what an assessment selects and what questions are written against, so make sure the things you actually want to measure sit at the bottom of the tree.
Step 4: Name a node in more than one language
Open a node and select Edit name. Alongside Name (English) you can add the Arabic and Spanish names for the same node.
Learners and administrators see the name that matches their language. Anything you leave untranslated falls back to English, so a partly translated tree still works.
Step 5: Reorder the tree
Drag a node to move it or change its order. The tree also supports moving nodes from the keyboard, so you do not have to drag.
KC Skills rejects a move that would break the hierarchy, such as dropping a node at a level it cannot occupy or moving a parent inside its own child. If a move was not what you wanted, use Undo on the confirmation that appears.
Use the zoom controls to fit the whole tree on screen, or to zoom to the node you have selected, when the tree gets large.
Step 6: Export the tree
Select Export skill tree to download the structure. Three formats are offered: CSV (spreadsheet), JSON, and XML.
Use the spreadsheet export to review the tree with colleagues who do not use KC Skills. It is also a good way to keep a record of the structure before you make a large change.
Conclusion
The Skill Tree is the foundation of KC Skills: assessments, campaigns, and every report read from it. Choose your depth first, then load the defaults or build from the top down. Name nodes in the languages your people use, and export the structure when you need a copy outside the product. With the tree in place you are ready to build your first assessment.